Uniforms and interactions
It is fair to say that no web applications is really complete without interactions. Uniform variables in shaders provide the bridge necessary between the JavaScript and the GLSL shaders. Uniforms are variables that are uniformly defined for all geometric primitives and fragments (pixels) in the shaders. They uniform variables need to be declared with the "uniform" keyword proceeded by their type as global variables outside any function definition including the main() function in the shaders.
We continue with editing the code from the previous example. To define the constant \(c_0\) with a polar coordinate representation of the complex number, we intend to send two numbers radius and theta to handle the following representation:
\[ c_0 = r\cos(\theta) + i \sin(\theta). \]
We need to add the following line to the interface section of the fragment shader.
uniform float radius,theta ;
This will define two float variables, radius and theta, as uniform variables.
We also modify the line where c0 is initialized to
vec2 c0 = radius*vec2(cos(theta),sin(theta)) ;
Notice how we multiplied a scalar by a vector to define c0. These are the only changes to the fragment shader. Therefore, the fragment shader code will be implemented as follows.
#version 300 es
precision highp float ;
precision highp int ;

uniform float radius, theta ; /* Defining two uniform float variables
                                 to introduce interaction between the
                                 JavaScript and the fragment shader
                                 codes                               */

out vec4 outcolor ; /*  output of the shader
                        pixel color             */
in vec2 cc ;        /* input from vertex shader */

#define csqr(z)     vec2((z).x*(z).x-(z).y*(z).y,2.*(z).x*(z).y)

// Main body of the shader
void main() {
    vec2 z = cc*4. - vec2(2.,2.) ; /* Initial coordinate based
                            on pixel position */

    vec2 c0 = radius*vec2(cos(theta),sin(theta)) ; /* the constant c0 */

    float iter ;

    /* Iteration loop to march the iterative map for a 1000 times */
    for(int i=0; i<1000; i++){
        iter = float(i) ;
        /* the Julia map */
        z = csqr(z) + c0 ;

        if (length(z)>2.){  /* if the point is not part of the set
                                break the loop */
            break ;
        }
    }

    // Output the result in the red channel of the output
    outcolor = vec4(iter - log(log(length(z)))/log(2.),0.,0.,0.) ;
    return ;
}
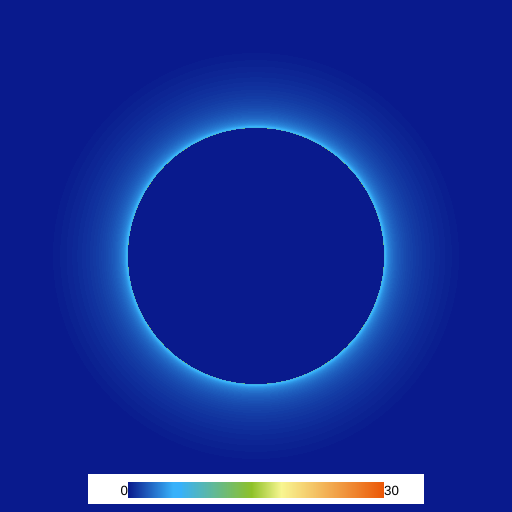
If we don't pass any variables to setup uniforms from the JavaScript code, they will be assumed zero. So, if you run the code now, you will get this:
We are going to use the graphical interface design tools that are included with Abubu.js. They require the variables for the interface to be included in an object. So, we define the following object in our main <script> tag.
var env = {
    r : 0.9,      // radius
    th: Math.PI,  // theta
} ;
Now, we need to pass these values in our solver definition. We will modify our solver definition to
var julia = new Abubu.Solver( {
    fragmentShader  : source('fshader'),
    /* uniforms will be passed here */
    uniforms : {
        radius : { type : 'f', value : env.r    } ,
        theta  : { type : 'f', value : env.th   } ,
    } ,
    /* targets or render targets are the output/outputs of the
       solver. */
    targets : {
        outcolor : { location :0, target : result_texture }
    }
} ) ;
In the uniforms section, we need to pass an object. Each member of the object has the name of the variable in the shader as the member name, and then we set it as on object which has a type and value. The type is set as an string where 'f' represents a float, 'i' an integer, 'b' a boolean, etc. The value property is the value which we want to send to the GPU to be used in the solver.
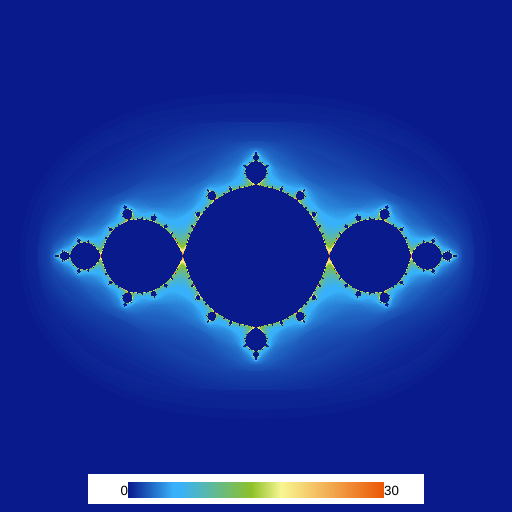
Now, if we re-run our code we should get
We can now define a function to create the graphical user interface. The function will be:
function createGui(){
    var gui = new Abubu.Gui() ;     /*  create a graphical user
                                        interface               */
    var panel = gui.addPanel() ;    /*  add a panel to the GUI  */

    panel.add( env, 'r' )
        .step(0.01) /* the increment to change env.r */
        .onChange(function(){   /*  the function to run when the value
                                    of env.r is changed */

            /* update the value of radius uniform by the new value of
               env.r                                                */
            julia.uniforms.radius.value = env.r ;

            /* solve the julia set with the new values and visualize the
               result                                               */
            solveAndVisualize() ;
        } ) ;


    panel.add( env, 'th' )
        .step(0.01) /* the increment to change env.th */
        .onChange(function(){   /*  the function to run when the value
                                    of env.th is changed */

            /* update the value of theta uniform by the new value of
               env.th                                               */
            julia.uniforms.theta.value = env.th ;

            /* solve the julia set with the new values and visualize the
               result                                               */
            solveAndVisualize() ;
        } ) ;
}
The comments should be easy to follow and understand. The function addPanel forks the library dat.GUI. You can find a good tutorial on dat.GUI here. You can also use any other method or library that you prefer to implement interactions in the code.
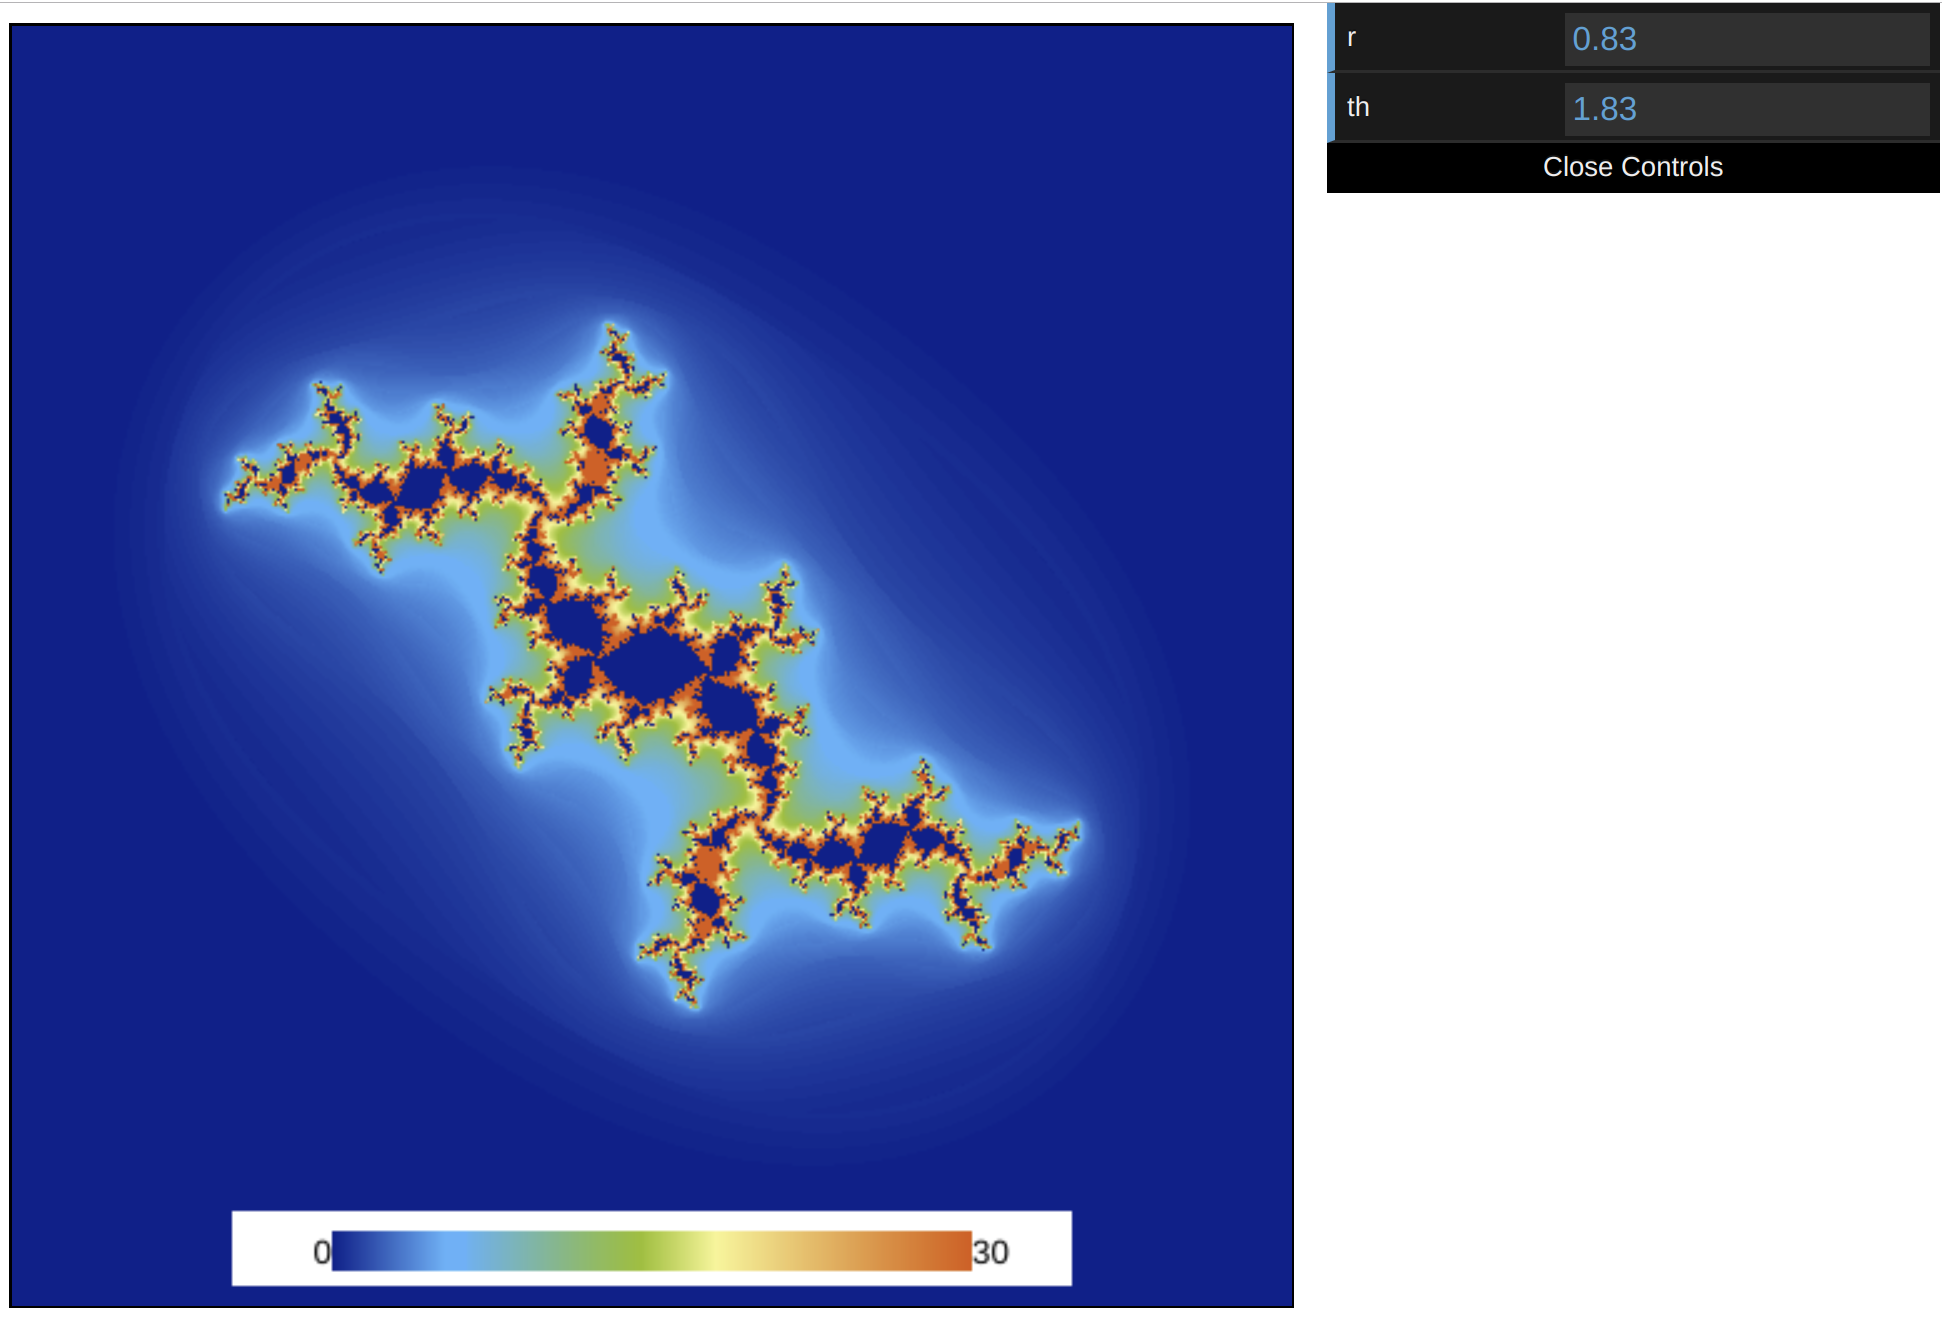
Now, the last thing we need to do is to call this function at the end of the <script> tag by just typing createGui(). Run your code and try to change the values of r and th in the graphical user interface.
The result should look like this.